
Casual wear manufacturing is the process of turning a clothing idea into finished garments that are ready to sell.
It usually includes product planning, fabric sourcing, pattern making, sampling, bulk production, quality inspection, packaging, and shipping.
From my experience working with casualwear brands, most production problems begin before sewing starts. Unclear measurements, unsuitable fabrics, rushed samples, and incomplete approvals can create expensive problems during bulk production.
Successful casual wear manufacturing depends on controlling the product before production, checking it during production, and verifying it before shipment.
This guide explains the main manufacturing stages and helps brands make safer production decisions.
Table of Contents
- Quick Answer
- Choose the Right Manufacturing Model
- Step 1: Prepare the Product Brief
- Step 2: Select Fabrics and Trims
- Step 3: Develop Patterns and Samples
- Step 4: Approve the Production Standard
- Step 5: Prepare Bulk Materials
- Step 6: Cut and Sew the Garments
- Step 7: Control Bulk Quality
- Step 8: Complete Labels and Packaging
- Step 9: Arrange Shipping
- Manufacturing Timeline
- Five Approval Gates
- How to Choose a Manufacturer
- Common Manufacturing Mistakes
- FAQ
- Conclusion
Quick Answer
A standard casual wear manufacturing process includes:
- Define the product and customer.
- Choose the right production model.
- Prepare specifications and measurements.
- Select fabric, colors, and trims.
- Develop and test physical samples.
- Approve the final production standard.
- Prepare bulk materials.
- Cut, decorate, and sew the garments.
- Inspect, pack, and ship the order.
My main rule is:
Do not begin bulk cutting until the fabric, fit, measurements, construction, branding, price, and packaging are approved in writing.
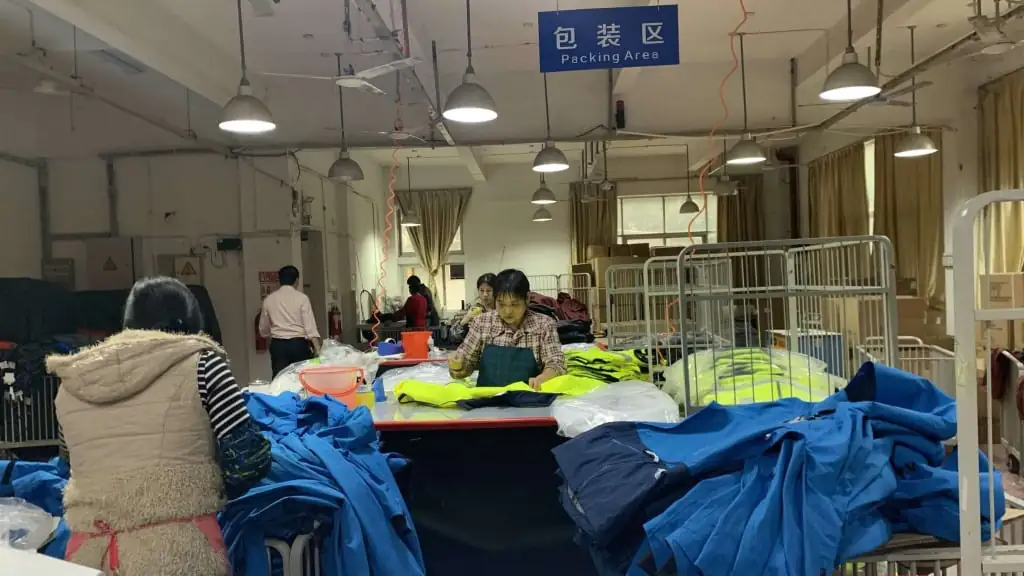
Brands can review product development and production support through OEM and ODM Manufacturing Services.
Choose the Right Manufacturing Model
The correct model depends on how much customization and development support you need.
| Model | Best For | Customization Level |
|---|---|---|
| Wholesale | Fast product testing | Low |
| Private Label | Branded existing products | Medium |
| OEM | Brands with tech packs | High |
| ODM | Brands needing development help | High |
| Cut and Sew | Original patterns and construction | Highest |
Choose Private Label When
- You want a faster launch.
- Existing product bases are acceptable.
- Your main changes involve labels, logos, colors, or packaging.
Learn more through Private Label Clothing Manufacturing.
Choose OEM When
You already have:
- Technical drawings
- Measurement charts
- Fabric requirements
- Artwork
- Construction details
Choose ODM When
You have an idea or reference product but need help with:
- Patterns
- Fabrics
- Fit
- Construction
- Sample development
Choosing the correct model prevents you from paying for development you do not need or expecting customization the supplier cannot provide.
Step 1: Prepare the Product Brief
The manufacturer needs more than a reference image.
Prepare a simple product brief containing:
| Requirement | Example |
|---|---|
| Product | Relaxed casual hoodie |
| Quantity | 300 pieces |
| Fabric | 360 GSM cotton-blend fleece |
| Colors | Black and grey |
| Sizes | S–XXL |
| Branding | Chest embroidery and woven label |
| Packaging | Individual branded bag |
| Market | United States |
| Deadline | Required ex-factory date |
Also provide:
- Front and back references
- Measurement chart
- Logo artwork
- Color references
- Target price
- Delivery destination
A clear brief makes quotations more accurate and reduces repeated questions.
Brands can compare possible products through the Custom Clothing Products Catalog.
Step 2: Select Fabrics and Trims
Fabric affects comfort, appearance, fit, cost, and durability.
Common casualwear materials include:
| Product | Common Fabric Direction |
|---|---|
| T-shirt | Cotton jersey or cotton blend |
| Hoodie | French terry or fleece |
| Casual shirt | Poplin, Oxford, or linen blend |
| Pants | Twill, canvas, or stretch woven |
| Loungewear | Jersey, rib, modal, or French terry |
| Jacket | Twill, nylon, polyester, or canvas |
Do not select fabric only by composition or GSM.
Also check:
- Construction
- Hand feel
- Stretch and recovery
- Shrinkage
- Pilling
- Colorfastness
- Usable width
- Reorder availability
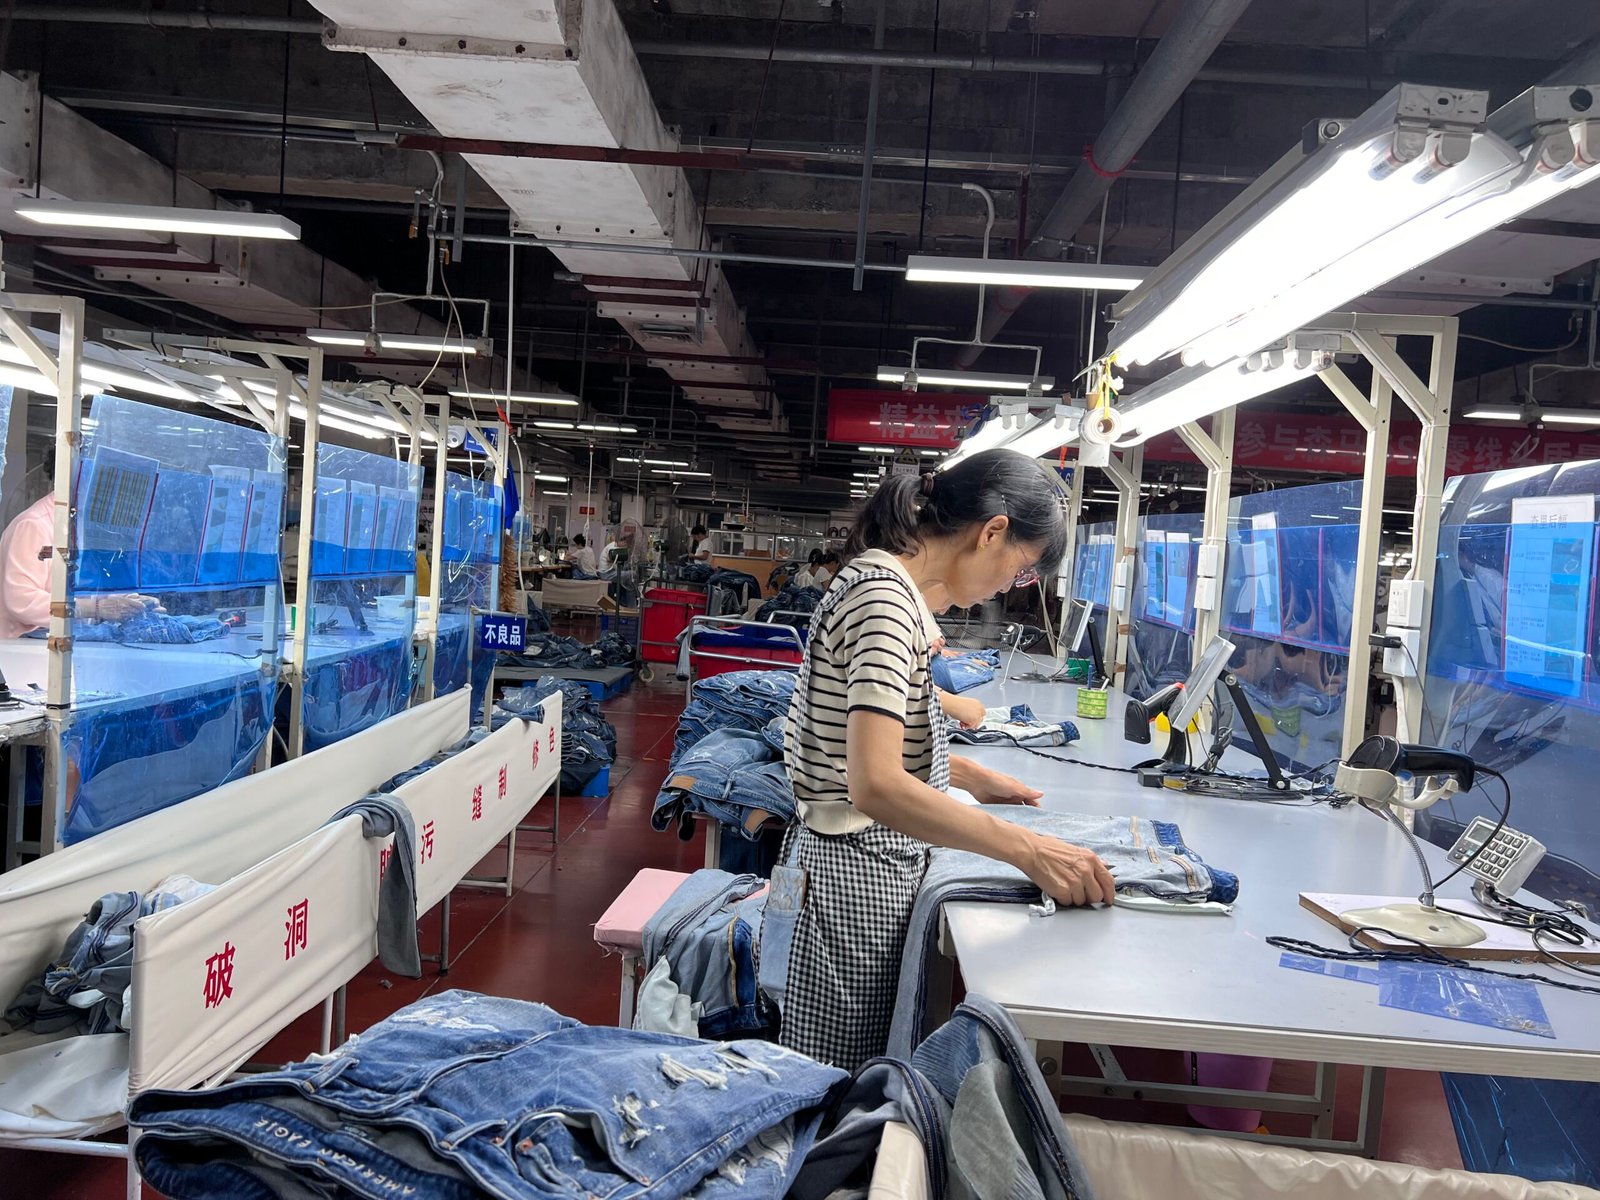
Brands can review available options through the Custom Fabric Catalog or develop special materials through Custom Fabric Development.
Trims
Trims may include:
- Zippers
- Buttons
- Elastic
- Rib
- Drawcords
- Main labels
- Care labels
- Hang tags
Use Customized Accessories and Trims when brand-specific components are required.
Step 3: Develop Patterns and Samples
The pattern controls the garment’s shape and measurements.
The sample allows you to check whether the product works physically.
Review:
- Fit
- Measurements
- Fabric
- Construction
- Comfort
- Pockets
- Printing or embroidery
- Labels and trims
- Wash performance
Sample Decision Table
| Sample Result | Recommended Action |
|---|---|
| Meets all important requirements | Approve |
| Minor finishing issue | Approve with written correction |
| Incorrect fit or measurements | Revise and resample |
| Wrong fabric or construction | Develop a new sample |
| Failed washing test | Investigate before approval |
A digital mockup cannot replace a physical garment sample.
The sample should prove that the product can be manufactured—not only that the design looks attractive.
Step 4: Approve the Production Standard
Before bulk production, create one final production reference.
It should include:
- Approved physical sample
- Final tech pack
- Measurement chart
- Fabric code
- Color standard
- Artwork
- Logo placement
- Trim card
- Label details
- Packaging instructions
Avoid approving a sample with comments such as:
- “Improve the fit in bulk.”
- “Use a better fabric.”
- “Move the logo slightly.”
- “Make the stitching stronger.”
Important corrections should be measurable and physically confirmed.
The manufacturer and buyer should follow the same final document version.
Step 5: Prepare Bulk Materials
After approval, the manufacturer prepares bulk fabric, trims, labels, and packaging.
Before cutting, bulk fabric should be checked for:
- Color
- Shade variation
- GSM
- Width
- Shrinkage
- Surface defects
- Stretch
- Consistency with the sample
Custom fabric, colors, zippers, labels, or packaging may require additional preparation time and minimum quantities.
Bulk materials should match the approved sample.
Changing fabric after sample approval may change:
- Fit
- Measurements
- Drape
- Sewing performance
- Printing results
- Wash performance
Step 6: Cut and Sew the Garments
Once materials are approved, production moves into cutting and sewing.
The basic sequence may include:
- Fabric relaxation
- Pattern marking
- Cutting
- Printing or embroidery
- Sewing
- Garment washing
- Thread trimming
- Pressing
- Measurement checking
Production difficulty depends on the garment.
| Product | General Complexity |
|---|---|
| Basic T-shirt | Low |
| Sweatshirt | Low to medium |
| Hoodie | Medium |
| Casual pants | Medium |
| Zip hoodie | Medium to high |
| Lined jacket | High |
| Multi-panel garment | High |
Pockets, linings, zippers, panels, washing, and decoration increase production time and cost.
Decoration options can be reviewed through Custom Printing Services.
Step 7: Control Bulk Quality
Quality control should happen during production, not only after every garment is completed.
| Inspection Stage | Main Purpose |
|---|---|
| Material Inspection | Confirm fabric and trims |
| First-Piece Inspection | Check production setup |
| In-Line Inspection | Find repeated problems early |
| Final Inspection | Verify finished goods |
| Packing Inspection | Confirm labels, quantity, and cartons |
Inspectors may check:
- Measurements
- Stitching
- Seam strength
- Fabric defects
- Logo placement
- Color
- Trims
- Labels
- Packing
The ISO 2859-1:2026 Sampling Standard provides sampling schemes that can support lot-by-lot final inspections.
However, final sampling should not replace material and in-line checks.
Brands can review a complete process through Quality Control Services.
Final inspection should confirm a controlled production process, not discover all production problems for the first time.
Step 8: Complete Labels and Packaging
Packaging protects the product and helps the warehouse identify each garment.
It may include:
- Main label
- Size label
- Care label
- Hang tag
- Barcode
- Size sticker
- Individual bag
- Shipping carton
For clothing sold in the United States, most covered textile products need appropriate information concerning fiber content, country of origin, and the responsible business.
Brands should review the FTC Clothing and Textiles Guidance before producing labels.
Packaging options can be planned through Private Packaging Solutions.
Use simple packaging for early market tests. Choose premium packaging when it creates clear customer or retail value.
Step 9: Arrange Shipping
Production completion and product delivery are not the same date.
Confirm whether the quotation uses:
- EXW
- FOB
- CIF
- DDP
- Another agreed trade term
The International Trade Administration Incoterms Guide explains how trade terms divide tasks, costs, and risks between buyers and sellers.
Also confirm:
- Ex-factory date
- Shipping method
- Freight cost
- Export documents
- Customs responsibility
- Estimated arrival
- Local delivery
Brands can coordinate freight and delivery through Clothing Shipping Solutions.
Plan your launch from the expected warehouse arrival date, not only the factory completion date.
Manufacturing Timeline
The following ranges are useful for early planning, but every project should be confirmed with the manufacturer.
| Stage | General Planning Range |
|---|---|
| Brief and quotation | 2–5 business days |
| Fabric and trim confirmation | 1–3 weeks |
| First sample | 1–3 weeks |
| Sample revision | 1–3 weeks per round |
| Bulk production | 3–6 weeks |
| Final inspection and packing | 3–7 days |
| Shipping | Depends on method and destination |
Simple products using available materials may be faster.
Custom fabrics, complex construction, special washing, or several sample revisions will take longer.
Five Approval Gates
I recommend using five approval gates to control production risk.
Gate 1: Commercial Approval
Confirm:
- Quantity
- Price
- Payment terms
- MOQ
- Production timeline
- Shipping term
Gate 2: Material Approval
Confirm:
- Fabric
- Color
- Trims
- Labels
- Packaging
Gate 3: Sample Approval
Confirm:
- Fit
- Measurements
- Construction
- Decoration
- Wash performance
Gate 4: Bulk Start Approval
Confirm:
- Bulk fabric
- First production pieces
- Final documents
- Production schedule
Gate 5: Shipment Approval
Confirm:
- Final inspection
- Quantity
- Packaging
- Cartons
- Shipping documents
No approval should be based only on an informal message. Record important decisions in the final production documents.
How to Choose a Manufacturer
Compare manufacturers using the same product brief.
| Evaluation Area | What to Check |
|---|---|
| Product Experience | Similar garments and fabrics |
| Sample Quality | Fit, measurements, and workmanship |
| Fabric Control | Sourcing, testing, and consistency |
| MOQ | Minimum per style and color |
| Communication | Accuracy and organization |
| Quality Control | Material, in-line, and final checks |
| Capacity | Ability to meet the schedule |
| Pricing | Complete and transparent quotation |
| Reorders | Ability to repeat approved quality |
Do not choose only by the lowest price.
A cheaper quotation may exclude:
- Custom labels
- Packaging
- Testing
- Sample revisions
- Inspection
- Freight
The right manufacturer should match your product, business stage, quality expectations, and order size.
Common Manufacturing Mistakes
Starting With Incomplete Specifications
A reference photo does not define the complete product.
Choosing Fabric by GSM Alone
Weight does not explain shrinkage, recovery, pilling, or durability.
Skipping Physical Samples
Mockups cannot confirm fit, comfort, and construction.
Approving Major Problems for Bulk
Unresolved problems become more expensive when multiplied across the order.
Changing Details Late
Late changes can affect price, materials, patterns, and delivery.
Using Too Many Colors
Small color quantities increase material and production complexity.
Inspecting Only at the End
Early inspections make problems easier to correct.
Confusing Ex-Factory and Arrival Dates
International delivery requires additional time for freight and customs.
FAQ
What is casual wear manufacturing?
It is the process of developing and producing everyday clothing such as T-shirts, hoodies, shirts, pants, jackets, loungewear, and pajamas.
Do I need a tech pack?
A tech pack is recommended for OEM manufacturing. An ODM manufacturer may help develop specifications when you begin with concepts or reference products.
Should I order a sample before bulk production?
Yes. The sample should confirm fit, fabric, measurements, construction, branding, and wash performance.
How long does casual wear production take?
A new custom project may require several weeks for sampling, material preparation, bulk production, inspection, and packing. Complexity and revisions affect the final schedule.
What affects the MOQ?
MOQ may depend on the product, fabric, colors, trims, printing, packaging, and production method.
What should be approved before bulk cutting?
Approve the final sample, measurements, fabric, colors, construction, artwork, labels, trims, packaging, price, and production timeline.
How is clothing quality controlled?
A practical system includes material inspection, first-piece approval, in-line checks, measurement control, final inspection, and packing checks.
Can Bless Clothing manage the full process?
Bless Clothing supports casualwear brands with product development, fabrics, samples, OEM and ODM manufacturing, private labeling, quality control, packaging, and international shipping.
Conclusion
Casual wear manufacturing is a connected process.
It includes:
- Product planning
- Fabric sourcing
- Pattern development
- Sampling
- Approval
- Bulk production
- Quality inspection
- Packaging
- Shipping
From my experience, the safest projects control the product before bulk production begins.
Use clear specifications, physical samples, written approvals, and inspections at several production stages.
The goal is not only to manufacture clothing. It is to create a product that can be produced consistently, delivered reliably, and reordered successfully.
Bless Clothing helps casualwear brands turn product ideas into approved samples, controlled bulk production, branded packaging, and quality-checked finished garments.